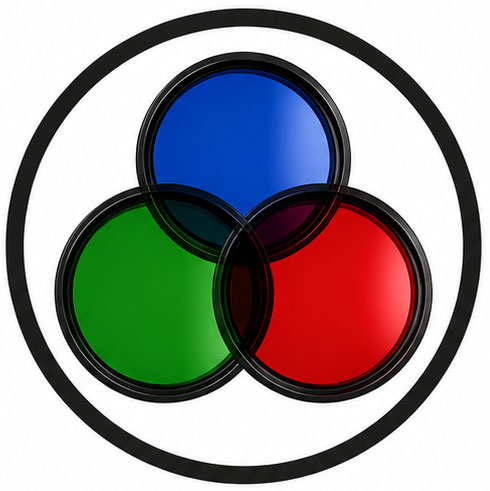
RGBefore does not specify a particular subject matter. Rather, the focus is on the technical process of historical trichromatic photography—though not with the aim of proving that a color image can be produced using this method. After all, we do that every day with modern cameras.
What’s interesting, however, is the process of creating the image: up to three individual photographs—or layers—are taken, which are then superimposed on top of one another. The task is to experiment with this technique.
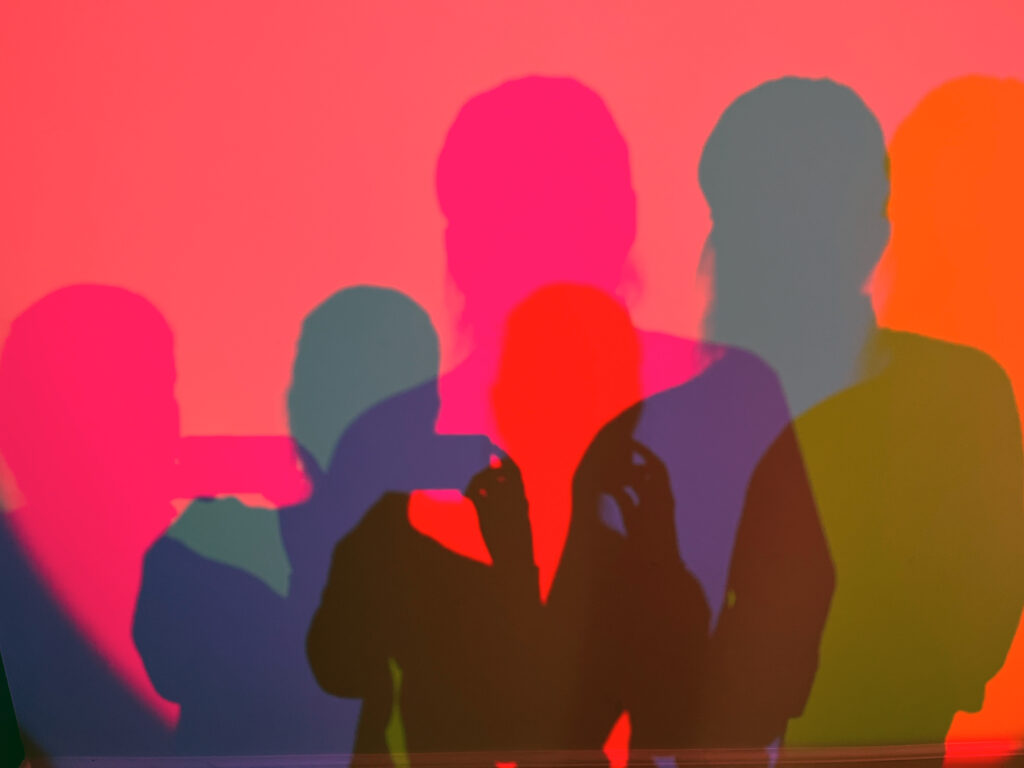
Similar to screen printing, the individual layers can be carefully planned and arranged together even before the image is captured. Colors can be placed specifically in certain areas of the image. Movements can change across two or three exposures and only become visible when the images are combined. You can experiment with just one, two, or all three layers and the resulting colors.
So you can plan very precisely how the individual shots will come together later—or you can simply leave the result up to chance.
RGBefore views three-color photography not so much as a historical technique to be imitated, but rather as a starting point for photographic experiments and new images.
Digital camera without a filter
Equipment required
- Camera: Any digital camera.
- Tripod: Optional, but required to ensure three identical frames
1. Set-up:
One option
Mount the camera on a tripod and choose a stationary or mostly stationary subject. Any movement (clouds, leaves) will result in colored ghosting (“Harris-Shutter effect”).
Another option
However, you can also intentionally take up to three different photos. There is no specific recommendation here.
2. Exposure:
Take three separate shots.
3. Saving:
Save the three files as an RGB image.
Digital post-processing
What am I actually doing?
It is important to understand what actually needs to be done. In the analog process, three black-and-white negatives would first be produced, each taken through a red, blue, and green filter. Black-and-white positives were then created from these for projection or printing. In the digital process, the three filtered black-and-white positives are produced digitally directly from color photographs using various functions of an image-editing program.
In the second step, in the analog process, the three black-and-white positives would be superimposed, with each one projected through a color filter. The result is once again a color image. In the digital process, this is simulated by copying the filtered black-and-white positives into the color channels of the image-editing program. How this works in detail will be explained below.
At first glance, the user manual that follows may seem a bit long and intimidating. But don’t worry—after going through it the first couple of times, you should have the hang of it. Have fun with it.
Preparation
Open all three color images (Image/Example 1, Image/Example 2, Image/Example 3) in Photoshop. Make sure all images are in RGB mode (Image > Mode > RGB).
Step 1: Create filtered digital images (equivalent to black-and-white negatives)
- First, the filtered negatives are to be produced from the three photographs.
- Red:
Open photo_1.jpg
Add a fill layer -> Solid Colour, Mode: Multiply, Colour: None, Opacity 100%
Select colour: R = 200, G = 0, B = 0
Save the file in greyscale mode; suggested filename: photo_1_red_bw.jpg - Green:
Open photo_2.jpg
Add a fill layer -> Solid Colour, Mode: Multiply, Colour: None, Opacity 100%
Select colour: R = 0, G = 200, B = 0
Save the file in greyscale mode, suggested filename: photo_2_green_bw.jpg - Blue:
Open photo_3.jpg
Add a fill layer -> Solid Colour, Mode: Multiply, Colour: None, Opacity 100%
Select colour: R = 0, G = 0, B = 200
Save the file in greyscale mode, suggested filename: photo_3_blue_bw.jpg
- Red:
- The steps in (1) can be varied as desired. For example, you could use Photo 1 for the blue negative, Photo 2 for the red one, and so on.
Step 2: Merge layers
- Create a new blank RGB file in the same image format (page size, dpi) as the ‘negative’ files created above.
- Open the ‘Colour Channels’ view in the image editing programme.
- Red, Green, Blue channels – insert files into the channelsd.
- Red:
Open photo_red_bw.jpg. Select the entire image and copy it (Ctrl+A and Ctrl+C)
Select the red channel, paste the copied file (Ctrl+V), and edit the image in the Red channel using Auto Contrast - Green:
Open photo_green_bw.jpg. Select the entire image and copy it (Ctrl+A and Ctrl+C)
Select the green channel, paste the copied file (Ctrl+V), then apply Auto Contrast to the green channel and the image within that channel - Blue:
Open photo_blue_bw.jpg. Select the entire image and copy it (Ctrl+A and Ctrl+C)
Select the blue channel, paste the copied file (Str-V), then edit the blue channel and the image within that channel using Auto Contrast
- Red:
- The ‘full-colour’ image appears in the mix channel. If you click on the mix channel, it is displayed in full size.
Final optimisation
As the filters produce different levels of contrast, you should use tone correction or gradation curves to adjust the white balance until neutral areas (such as a grey wall) in the image actually appear colour-neutral.